Kitchen Remodel Checklist: Layout to Styling in Order
Kitchen Remodel & Styling Checklist: A Room-by-Room Plan You Can Download and Use Today
A kitchen update runs smoother when decisions are made in the right order: layout first, then surfaces, then lighting, then styling. A structured checklist helps prevent expensive do-overs (like re-cutting countertops after a cabinet change), keeps finishes consistent, and turns “inspiration” into a clear sequence of choices—whether you’re doing a weekend refresh or a full remodel.
Start with goals, constraints, and a clear project scope
Before you collect samples or add items to cart, define what success looks like. Is the goal better storage, smoother cooking workflow, an updated style, entertaining space, accessibility, or resale readiness? Once the outcome is clear, set must-haves (non-negotiables) versus nice-to-haves, and create a budget range with a separate buffer for surprises like hidden plumbing issues, subfloor leveling, or electrical upgrades.
Next, choose the project type:
- Cosmetic refresh: paint, hardware, lighting, small organization upgrades.
- Partial renovation: counters, backsplash, sink/faucet, and select fixtures.
- Full remodel: layout changes, new cabinets, appliance reconfiguration, and major trades.
Finally, confirm timeline constraints (holidays, rental schedules, contractor availability, lead times), and take quick measurements and photos to capture pain points like dead corners, cramped prep zones, or awkward door swings.
Kitchen decision timeline (what to choose first)
| Phase | Key decisions | Why it comes first | Common pitfalls |
|---|---|---|---|
| Layout & code | Appliance locations, plumbing/electrical, ventilation, clearances | Everything else must fit these constraints | Buying appliances before checking dimensions and venting |
| Cabinet plan | Door style, storage features, panel heights, fillers | Determines countertop runs and backsplash boundaries | Forgetting landing zones and trash/recycling placement |
| Surfaces | Countertop, backsplash, flooring, paint | Biggest visual blocks; needs coordinated undertones | Mixing warm/cool finishes without testing samples |
| Lighting | Ambient + task + accent, color temperature | Affects how every finish reads day and night | Overreliance on one ceiling fixture |
| Fixtures & hardware | Faucet, sink, pulls/knobs, outlets/plates | Ties function to style; needs consistent metal story | Choosing trendy metals without considering durability |
| Styling | Rugs, stools, art, countertop organization | Final layer that makes the space feel finished | Clutter from too many countertop items |
Plan the layout around daily routines and the work zones
A “good-looking” kitchen still feels frustrating if the zones fight your habits. Map the core zones—prep, cook, clean, storage, and serving—then aim for short, obstacle-free paths. Pay special attention to clearances for aisles, appliance doors, and seating so traffic doesn’t cut through the prep area.
- Landing zones: plan a drop spot beside the fridge for unloading, beside the cooktop/oven for hot pans, and near the sink for dish flow.
- Storage strategy: decide whether a pantry wall, tall cabinet bank, or limited open shelving best fits your needs and the visual weight of the room.
- Open-concept sightlines: position the messiest area (often the sink and dish zone) so it’s least visible from the main living space when possible.
If you’re moving appliances or changing the sink location, validate plumbing stack location, vent routes, and electrical capacity early. Planning guidance from the National Kitchen & Bath Association (NKBA) can help you sanity-check clearances and functional priorities.
Choose a cohesive style direction and a simple color strategy
To keep choices from spiraling, pick one main “lane” (modern, transitional, farmhouse, Scandinavian, coastal, rustic, minimal, eclectic). Then build a simple three-part palette:
- Base neutral: cabinets and/or walls (the largest surface area).
- Supporting tone: flooring or countertop (adds warmth/coolness and grounding).
- Accent color: stools, art, textiles, or a small painted moment.
Always test samples in your real kitchen at morning, afternoon, and night—undertones shift dramatically under different light. For metals, decide on one dominant finish (like brushed nickel) and an optional secondary accent (like matte black), repeating each at least two to three times for a deliberate look.
Select cabinets, storage, and organization features that earn their cost
Pick hard-working surfaces: countertops, backsplash, and flooring
Get lighting and ventilation right before finishing details
Ventilation deserves early attention: hood size, duct route, noise level, and make-up air requirements can change cabinetry and layout. For indoor air considerations, reference the EPA’s indoor air quality resources.
When selecting appliances, efficiency can reduce long-term operating costs; ENERGY STAR appliance guidance is a helpful baseline for comparing categories.
Finish with fixtures, hardware, and styling that feels intentional (not busy)
If you’re leaning into an organic, layered look, the Southeast Asian-Inspired Bamboo and Rattan Pendant Chandelier can create a sculptural focal point overhead. For extra dining or serving storage outside the main work zone, a Rustic Wood Sideboard adds practical space for linens, platters, and small appliances you’d rather keep off the countertop.
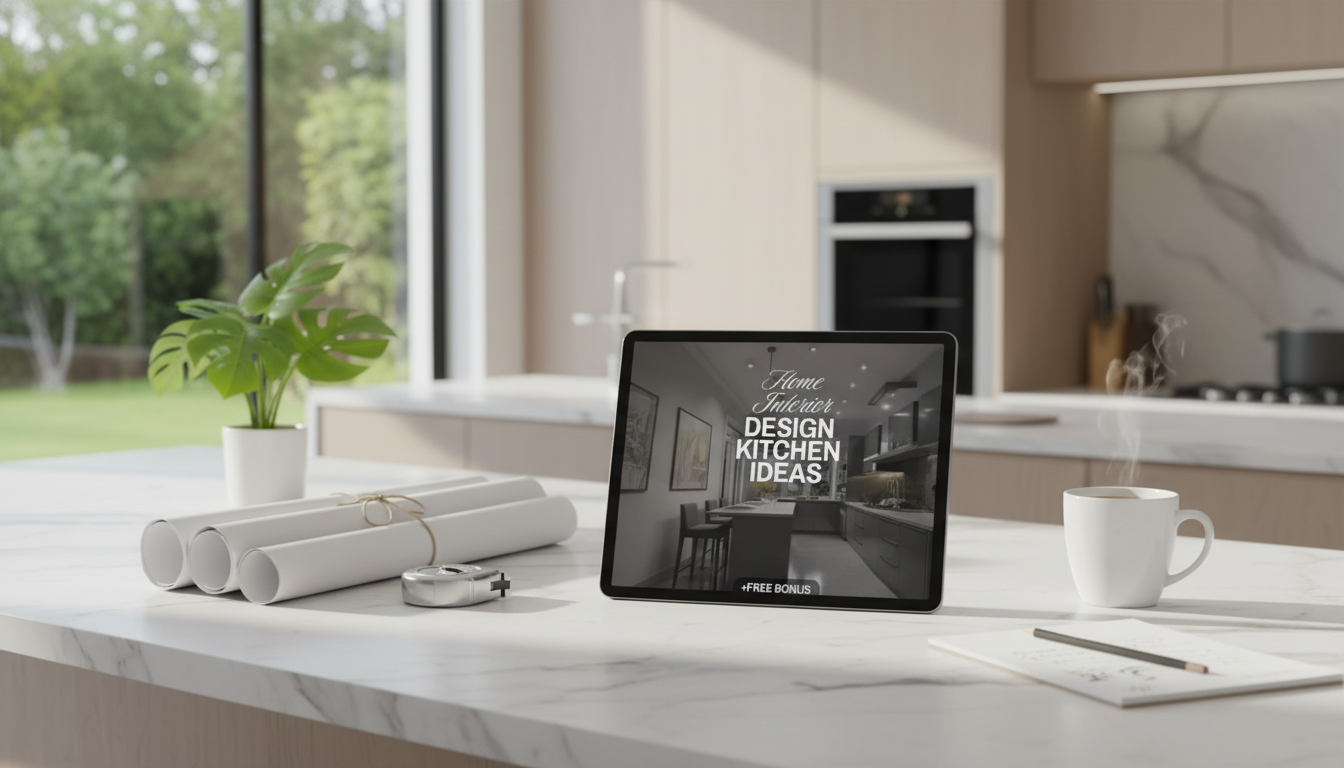
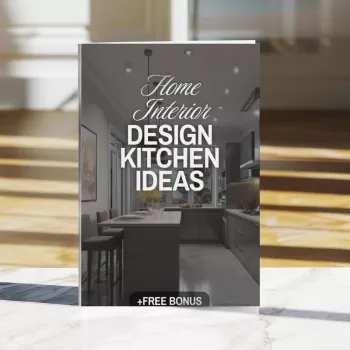
Printable plan: a ready-to-use kitchen ideas checklist for remodels and refreshes
For a ready-to-use format you can duplicate for different concepts or properties, see the Home Interior Design Kitchen Ideas Checklist (digital download). Print it, keep it on your phone, and mark choices as they’re locked in—so you can shop faster and avoid backtracking.
FAQ
What should be chosen first in a kitchen remodel?
Start with layout constraints: appliance locations, plumbing, electrical capacity, ventilation, and required clearances. Next finalize cabinetry and storage, then choose surfaces, lighting, and finally fixtures and styling.
How can a kitchen look cohesive when mixing finishes?
Use one dominant metal finish and one secondary accent, repeating each several times so it feels planned. Keep undertones aligned by testing cabinet, counter, and flooring samples together in your actual kitchen lighting.
What are the most overlooked items to put on a kitchen checklist?
Landing zones, outlet placement, under-cabinet lighting, filler panels, trim transitions, ventilation routing, and delivery lead times are commonly missed. Catching these early helps prevent last-minute compromises and delays.


Leave a comment